

Onboarding for team members#
To work with Allegra, you need an account. Depending on the installation, you receive it from a system administrator, are automatically registered through synchronization with a directory server — or you register yourself.
Create an account#
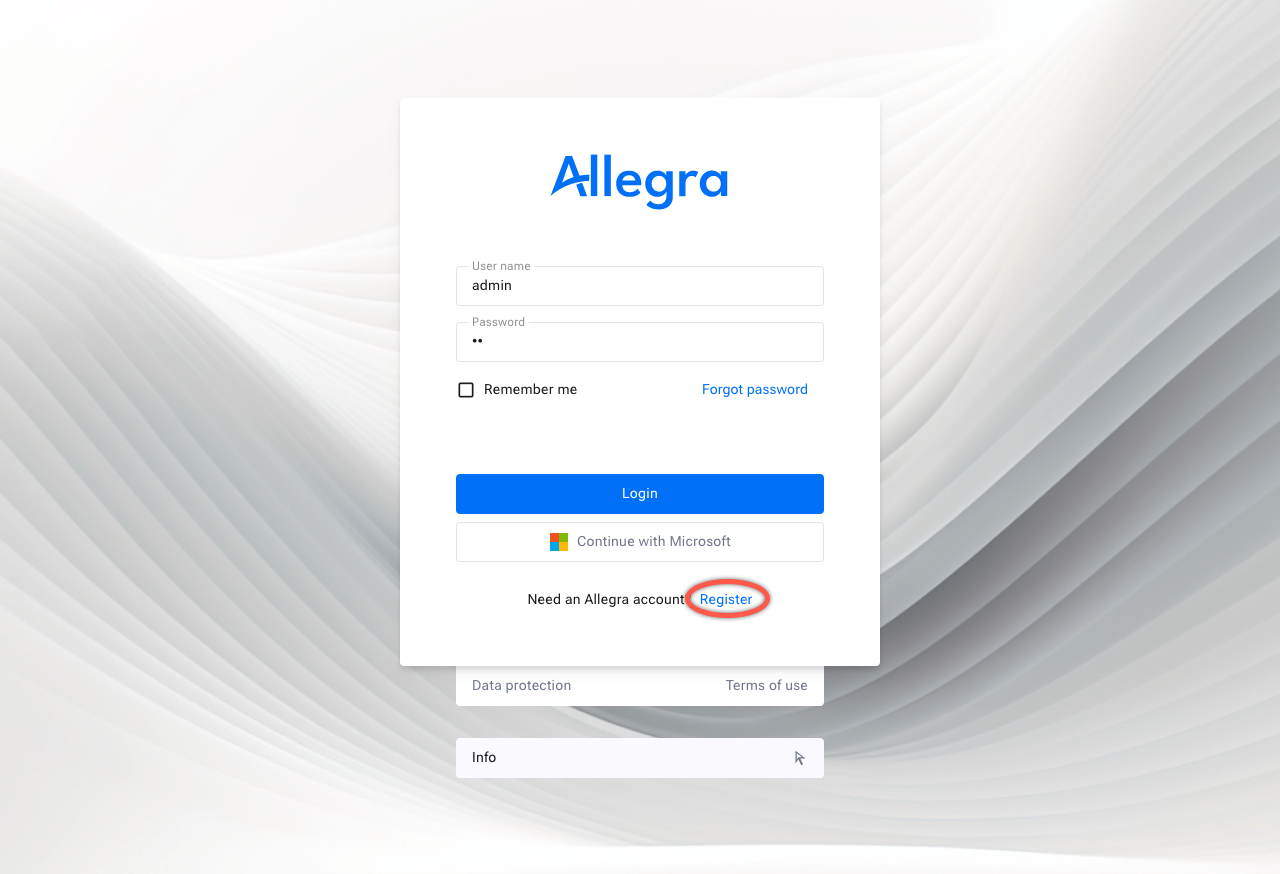
For self-registration, open the sign-in page, click Register and enter your details.
Note
If the Register button is missing, self-registration is disabled. The system administrator enables it in the server administration (Self-registration).
Registering and signing in#
Before you can create items (tasks, tickets, etc.), a project manager or system administrator assigns you a role for at least one workspace.
Note
Role assignment can happen automatically: if newly registered users are automatically assigned to a group and this group already has roles in workspaces, you automatically inherit these roles. The system administrator configures this behavior per group.
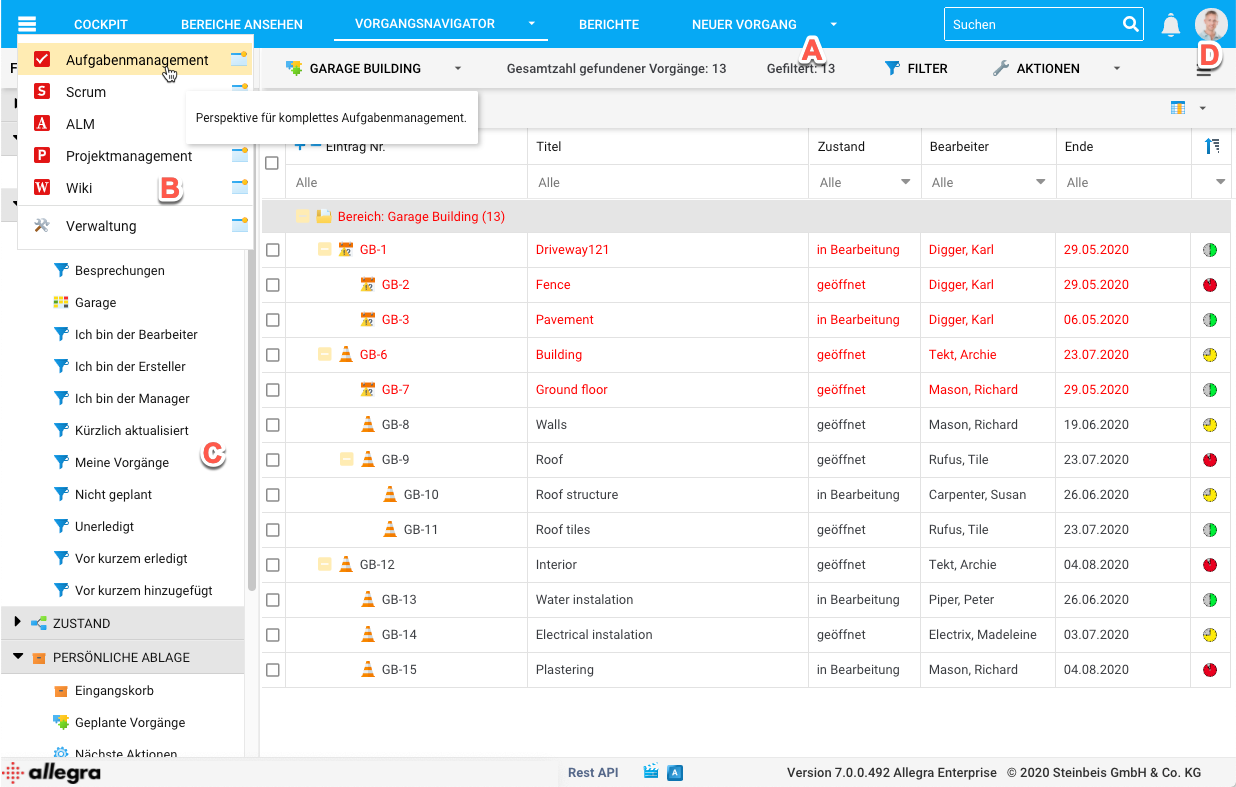
Structure of the user interface (task management)#
First steps in the interface#
You will find an overview of the areas of the user interface under Structure of the user interface. The following actions are particularly useful for getting started:
Create a new item: Click the large
Addbutton, choose an item type and fill in the form that opens.Show my items: Switch to the “Task management” app and select the “My items” filter on the left.
Change personal data: Click the avatar and choose “My settings” to adjust your password, language, theme or profile picture.