

The Allegra Power BI connector#
To access Allegra from Power BI, you need a suitable connector on the Power BI side. It must be installed and configured once on every workstation on which you want to use Power BI Desktop.
Installing the Allegra Power BI connector#
To install the Allegra Power BI connector, proceed as follows:
Download the connector from the Allegra download area.
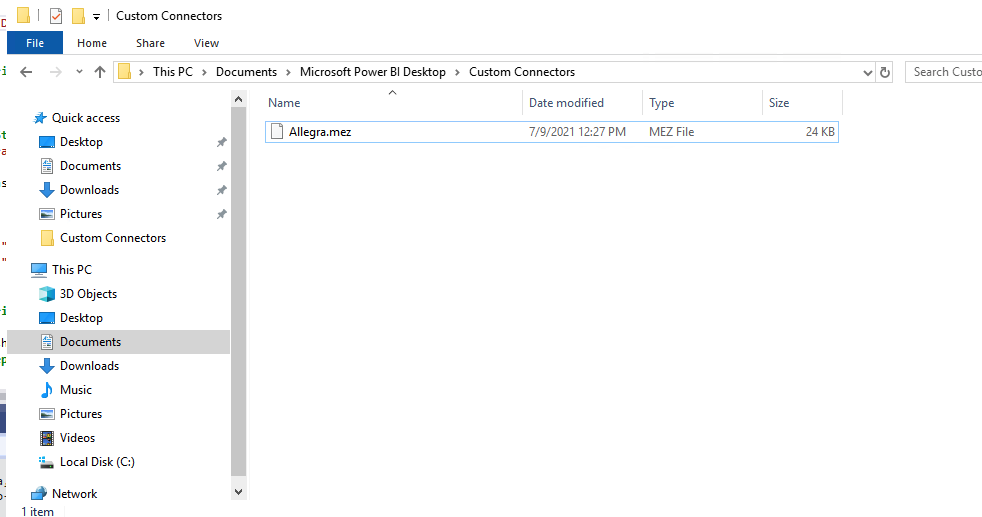
Copy the file with the
mezextension into the current user’s documents folder, and within it into a directory namedMicrosoft Power BI Desktop\Custom Connectors. Example of a complete path:
C:\Users\Administrator\Documents\Microsoft Power BI Desktop\Custom Connectors
Restart your Power BI Desktop application.
Configuring the Allegra Power BI connector#
So that Power BI can fetch data from your Allegra server, you have to tell it
the address at which your Allegra can be found and how to sign in there. For
authentication, you must first create an access token on your Allegra under
My profile > Access token (Add button).
Start Power BI and add the Allegra connector as a new data source:
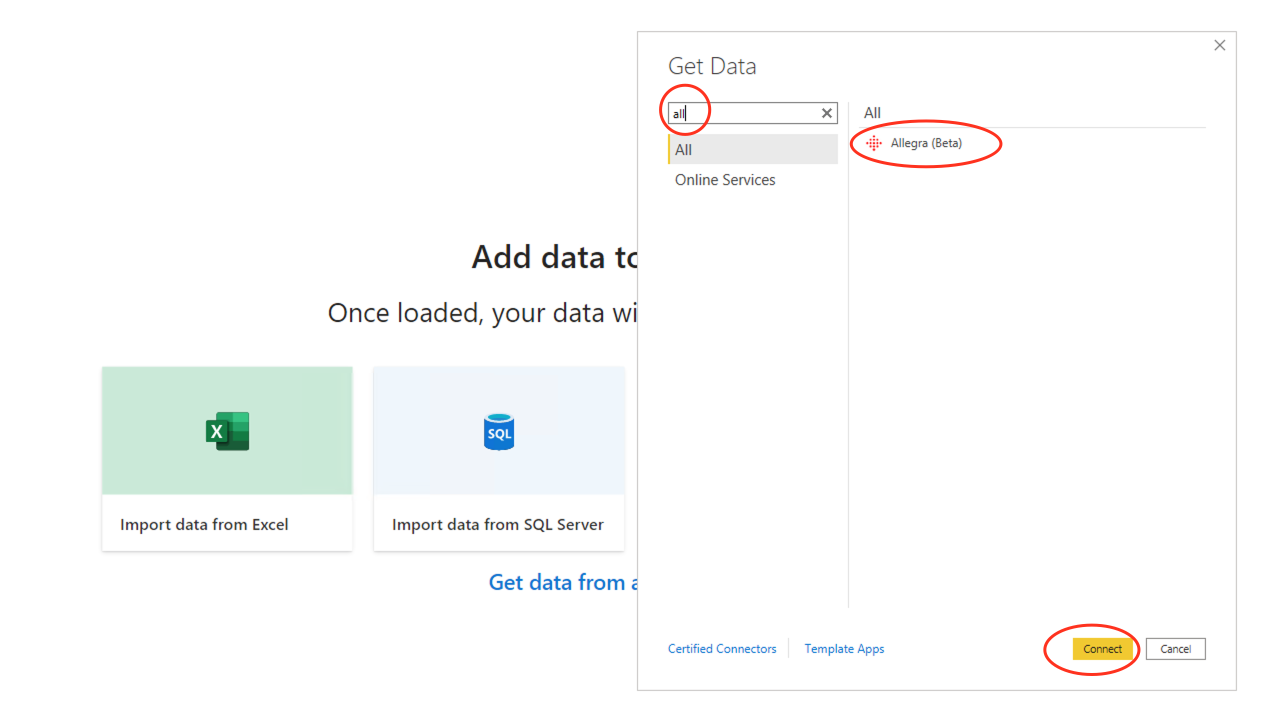
In the “Add data to your report” window, select “Get data from another source”
In the search field, enter “Allegra”
The “Allegra” connector should appear on the right-hand side
Click
Connect
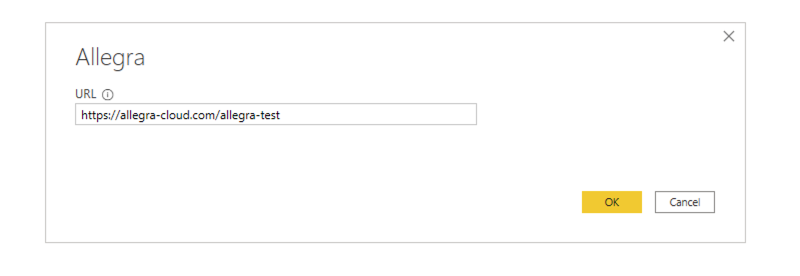
Enter the URL of your Allegra server, e.g.
https://allegra-cloud.com/allegra-testClick
Ok
Add your personal access token and click
Connect
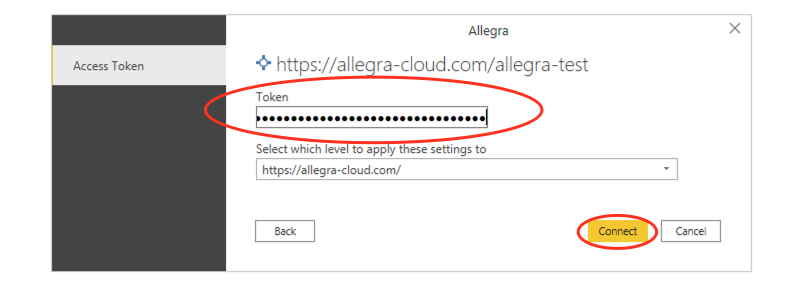
The connection should now be ready and you can access the Allegra data.