

Working with the allocation view#
wsman sysman sysadmin
The “Allocation” view lets you see and manage the deployment of your resources (people, rooms, equipment and skills) over time.
To plan resources or to see the workload of your team members, use the Allocation view in the item overview. Note: In order for the “Allocation” view to be available for selection, you must have enabled the “Gantt” feature for the relevant user (see Managing regular users).
Project view and organization view#
The allocation view offers two views:
project view for project managers
organization view for line managers
For the project view, the project manager selects his project or projects in the filter area on the left. He then sees, on the right, the allocation for all resources assigned to that project. If a resource also works on other projects, the resulting allocation is shown only in summary form.
For the organization view, the user must be set up in his profile as the team leader of an organizational unit. He can then select the organizational unit assigned to him in the filter area on the left, possibly including all subordinate organizational units. For each direct or indirect member of an organizational unit, the corresponding workload is displayed in the area on the right.
Allocation display#
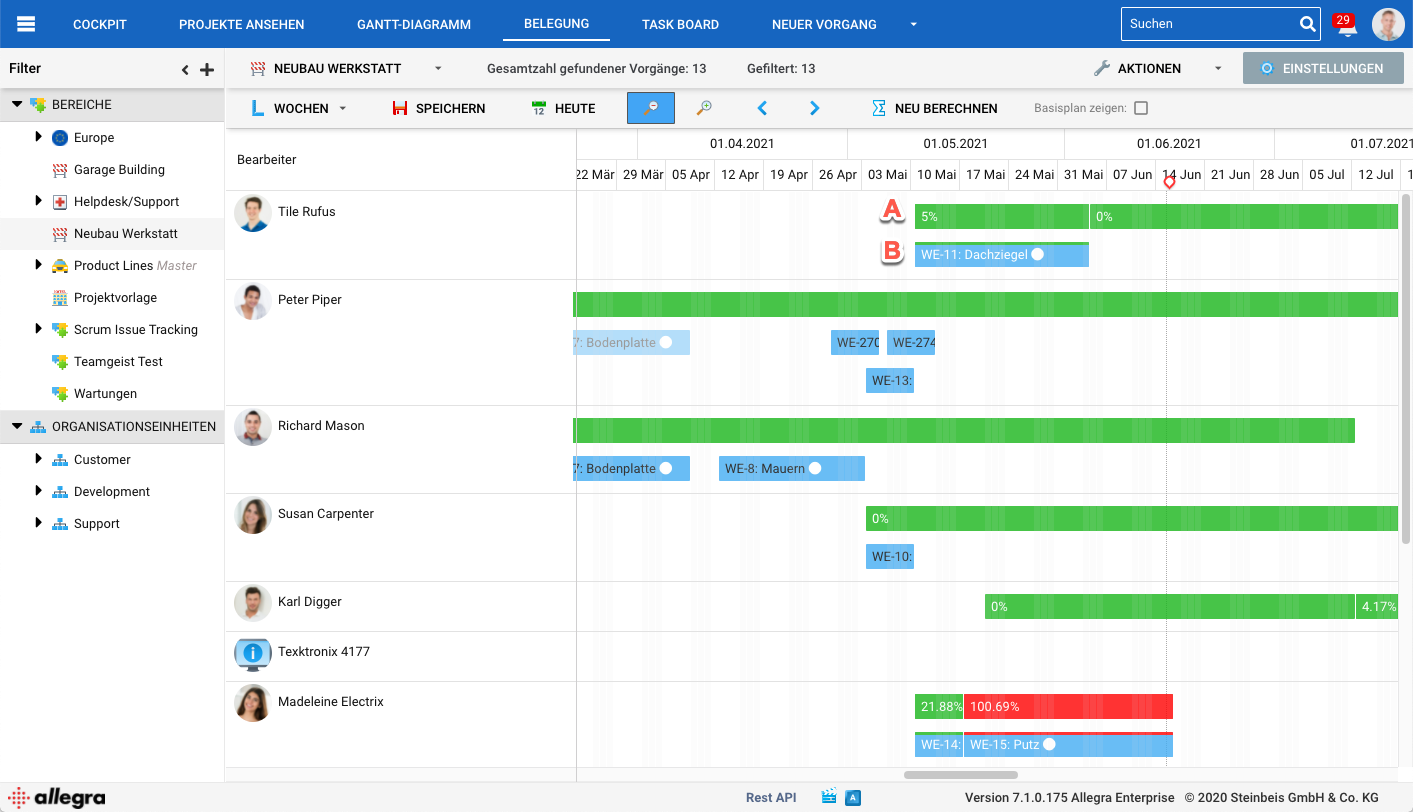
The top row (A) shows the total allocation of the associated team member, based on his daily working hours. This row turns red if there is an overload.
The rows below (B) show the workload caused by the respective item. The height of the lower part of the line illustrates the allocation percentage.
You can drag the bars to change the start and end date and to move tasks to a different team member. Warning: This view does not take dependencies between items into account. When you move items along the timeline, dependent tasks are not moved along with them. Use the Gantt view if you need this behavior.