Workspace-specific lists#
wsman sysman sysadmin
In Allegra you configure any number of custom selection lists — either for all workspaces or for a single workspace. Items with a selection-list attribute carry one of the predefined values from such a list. Typical examples are operating systems, drawing numbers, serial numbers, customers, system components, or simply the location where you handle the item.
Switch to
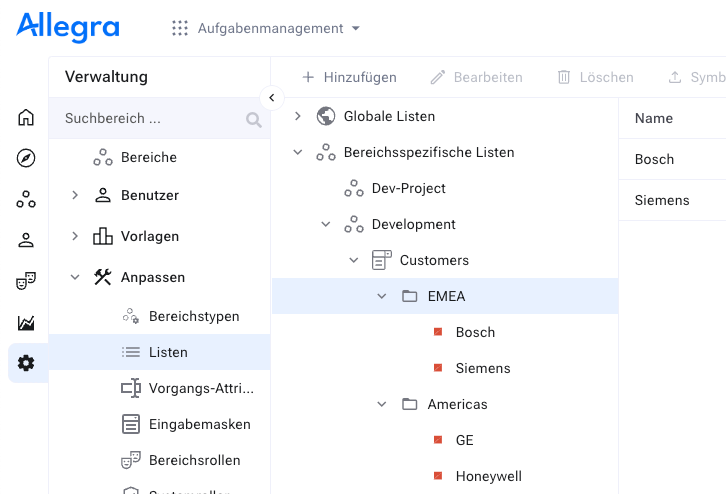
Administration>Workspaces.Select a workspace.
Click the
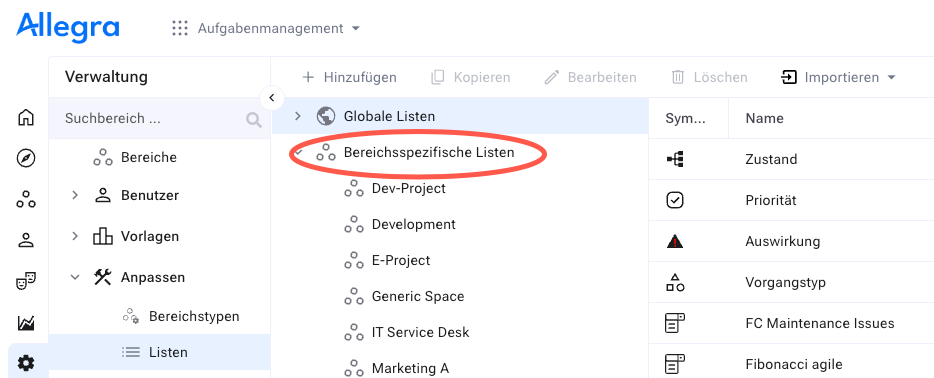
Listsnode.
To edit a globally available list, go to
Administration>Items>Custom selection options. For a workspace-specific list, select a workspace instead. Then clickEditin the toolbar or use the context menu.
Give the new list a name — or modify an existing list. Optionally add a short description.
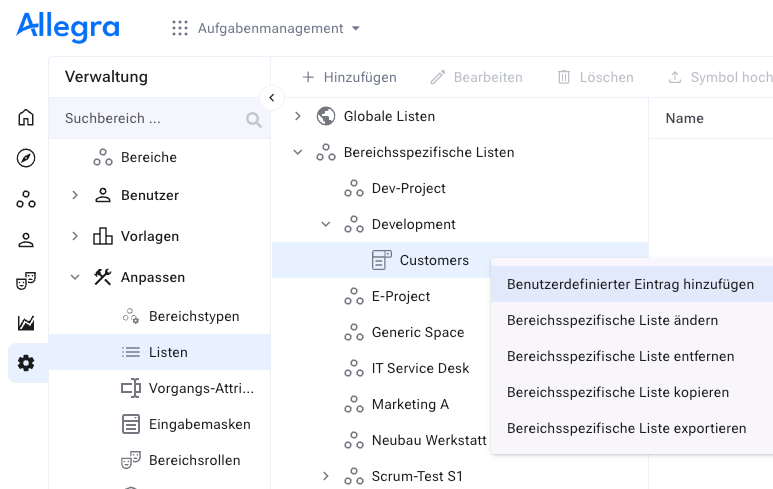
Select the node to which you want to add entries, or whose entries you want to edit. Use the context menu to add or edit an entry.
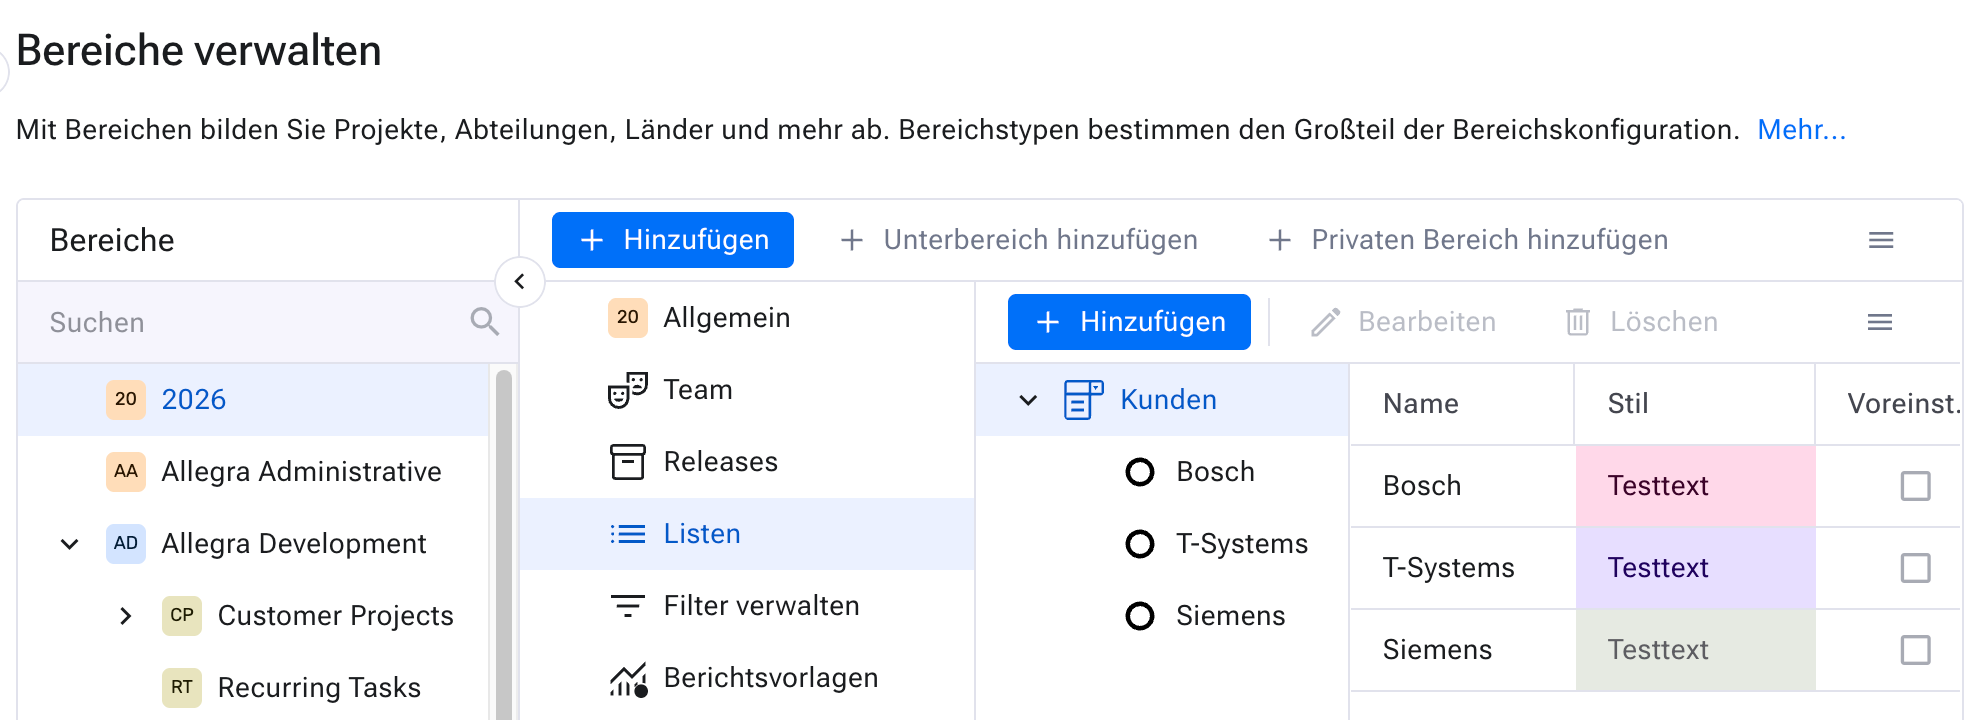
Name the new entry — or edit the name of an existing entry — and optionally assign style information. Styles control the appearance of the item in the item browser. Then click
Save.
You can assign each entry an icon (20 × 20 px, GIF or PNG) and a CSS style. Using the CSS style you format items in the item overview — for example with shades of red as the background color to signal urgency.
You drag entries in the right-hand list to a different position. The order in the table matches the order in the user interface.
For a simple list, add entries under the topmost list node. For a cascaded list, select a second node at list level and repeat the procedure.