

Item browser left area#
The left area offers various filters so that only the items of interest to you are displayed. The filter you select on the left determines which items appear on the right.
The workspace filters (A) display all items created in the workspace by default. Using the context menu, you can restrict this set to all closed or all open items.
Note
All workspace and release/sprint nodes in the navigation tree are also drop targets. You change the workspace or phase of items previously selected in the right area by dragging the items onto the corresponding node.
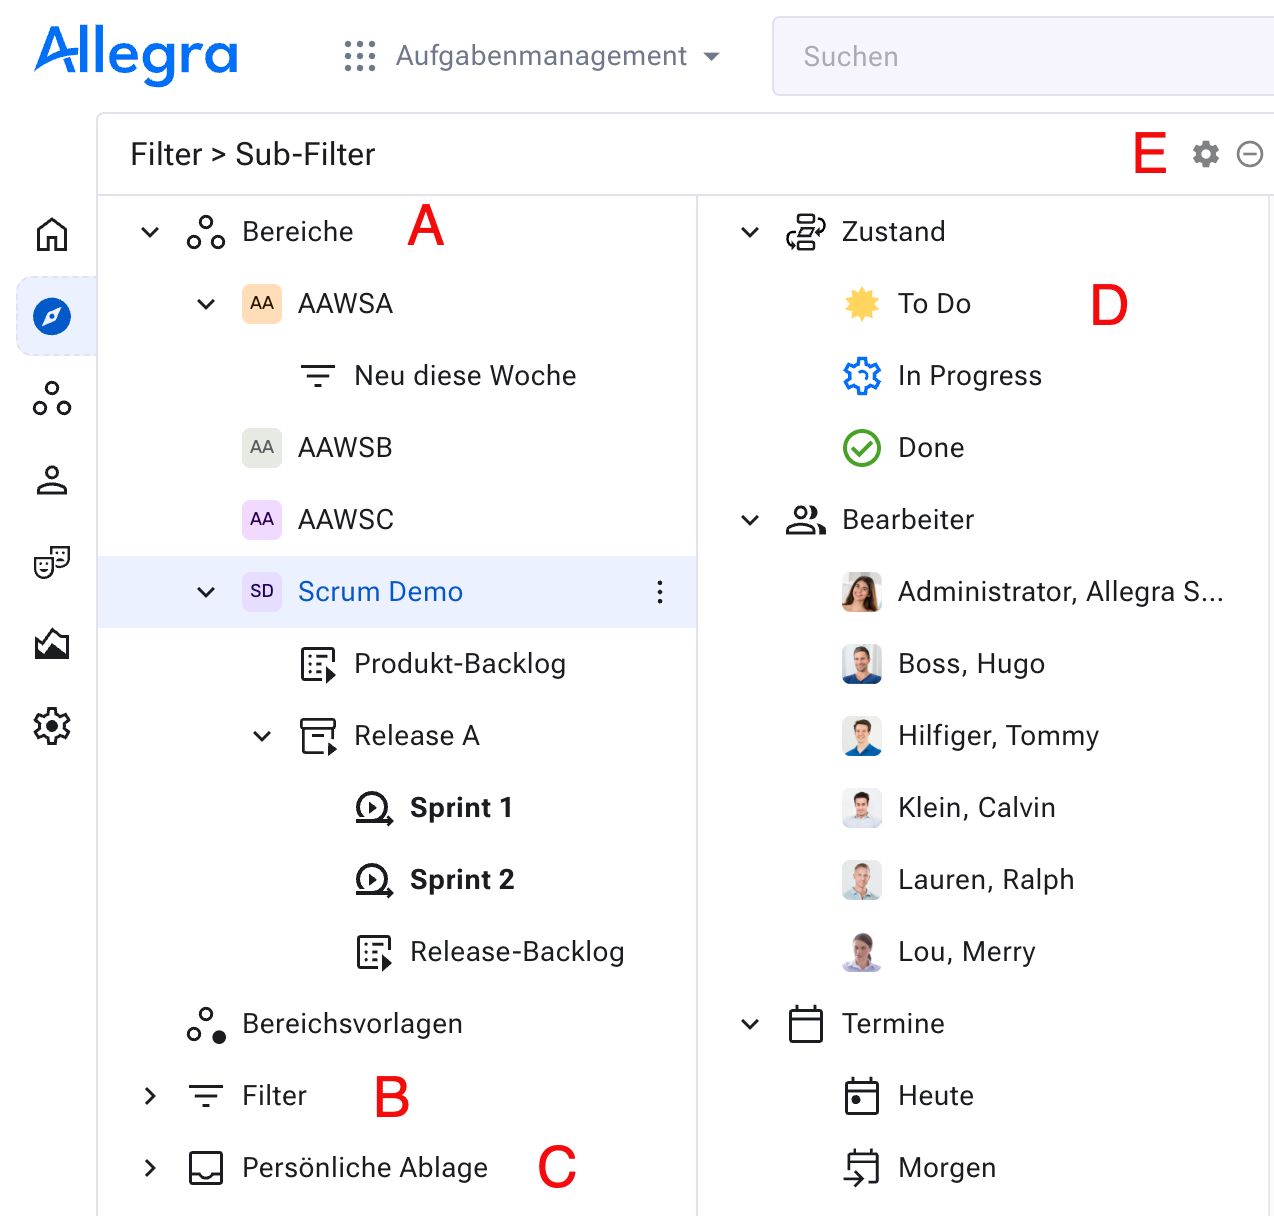
If you have defined workspace templates, they appear below the workspace filters. With them, you create new (sub-)workspaces from templates — without opening the Administration.
The second group (B) shows your subscribed filters or filter favorites. Using the context menu, you add or remove filters. Your system manager can assign you additional filters or revoke them.
With subfilters (E) you refine the filtered list. Click symbol E to show the subfilters. Using symbol E you configure the filter attributes in the subfilter area D.

Subfilter configuration#
All subfilter nodes are also drop targets. This lets you quickly assign items to a new responsible person — you simply drag them onto the corresponding name.
The “Personal storage” group (C) supports the Getting Things Done method for organizing personal tasks.
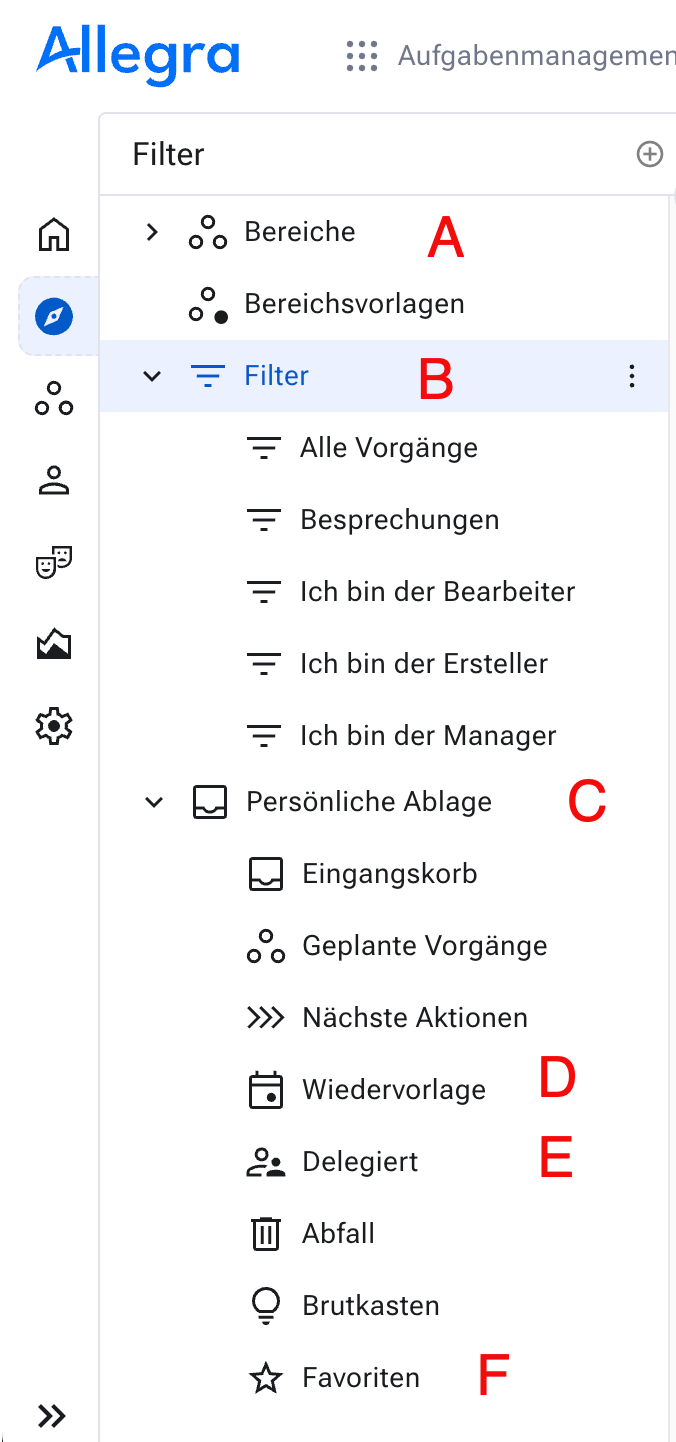
The personal storage#
These filters act as targets for reorganizing items: drag items over to assign them to a storage location, set a resubmission date (D) or delegate them (E).
Click a filter node to apply it. Most nodes offer a context menu for further options and administration.