

Changing the cockpit layout#
Your personal cockpit brings together all the important information about every workspace you are interested in. Each user is free to choose which widgets to display and where to position them.
Note
All changes to the cockpit are saved to the database immediately.
As a system administrator, you can save cockpits as templates and assign these templates to users (see Cockpit templates).
To change your personal cockpit, click the wrench icon on the right below your profile picture.
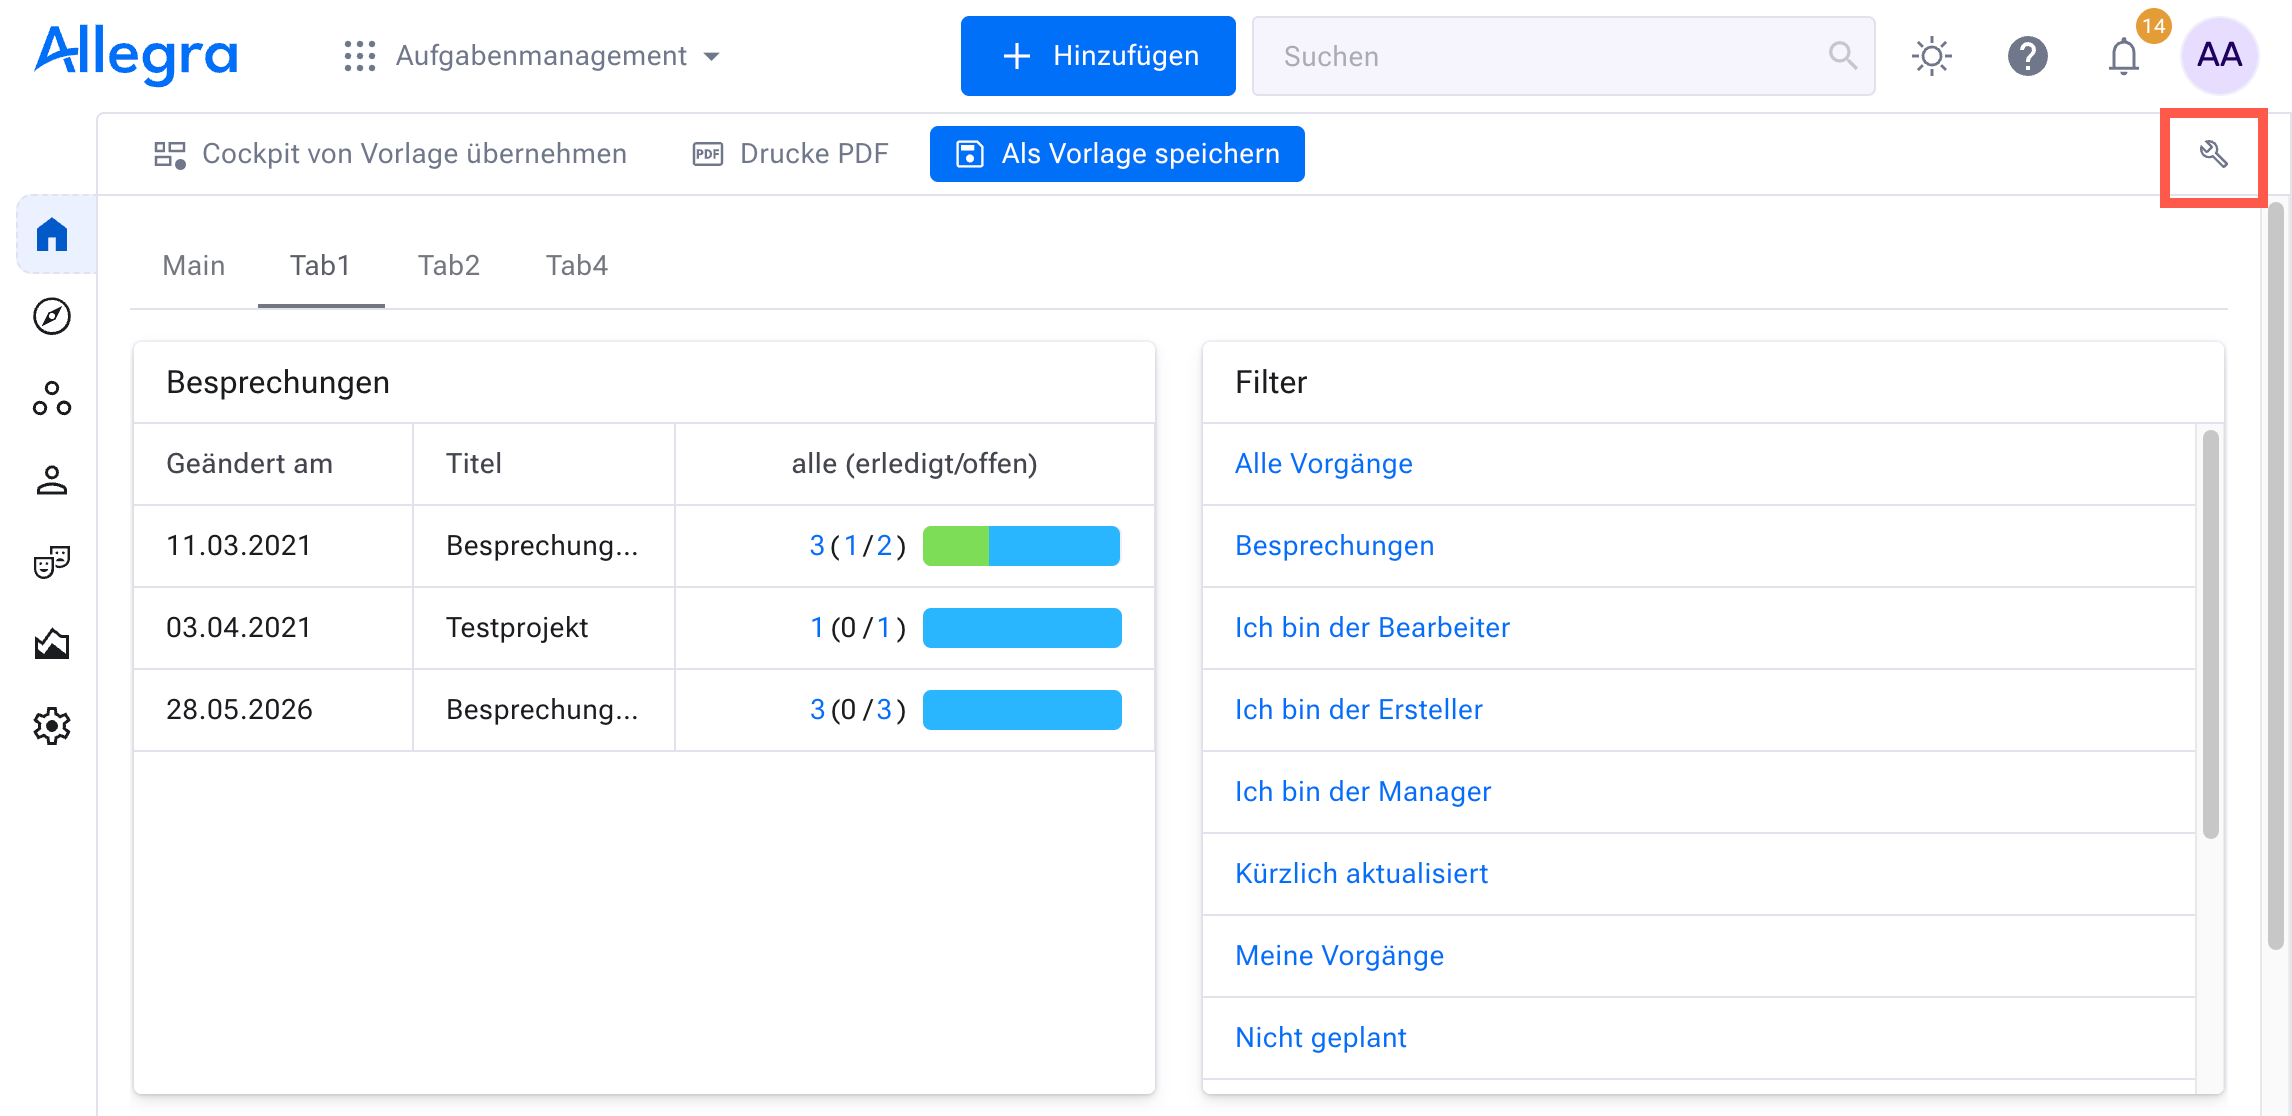
The screen changes, and a list of all available widgets appears on the right-hand side.
The buttons let you add, change and delete tabs and panels.
For tabs, you can label a tab by selecting it and then entering the label you want in the “Label” field in the box on the right.
Widgets are always placed on panels. You can set the size of each panel by dragging the handles on its edge in the middle, downwards or to the right.
You can place widgets by dragging them from the box at the bottom right to the grid position you want. You can move widgets by dragging them to their new position.
When you are finished, click the “Done” icon in the toolbar.
You are taken back to the regular view of the cockpit page. You will see your newly designed layout.
Hint
Some widgets have an “Adjust height automatically” checkbox. When it is selected, the height of the widget is adjusted automatically so that no scroll bar is needed.