

Configuring filters#
Filters can be configured in two places in the system:
Directly in the item browser
Under
Administration>Filters
Configuring filters directly in the item browser#
There are several access paths to these two locations.
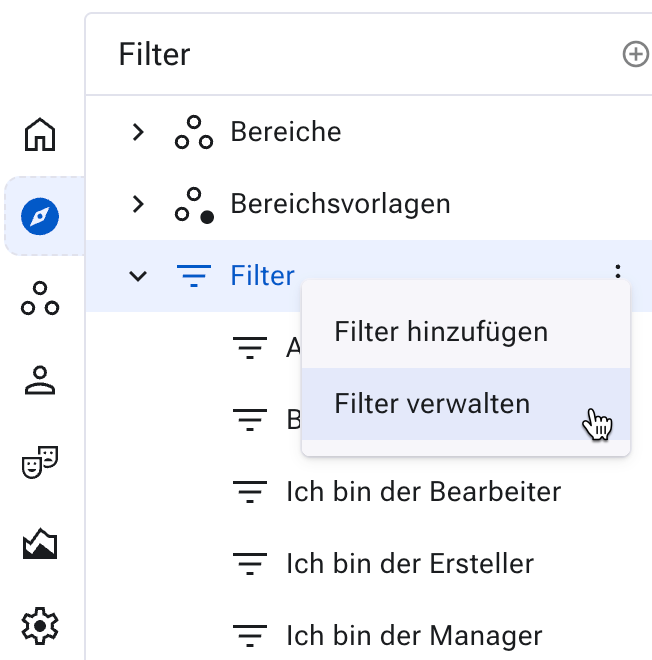
In the following, we use the access via
Items > Filters > Manage filters as an example.
Go to
Items>Filters>Manage filters.
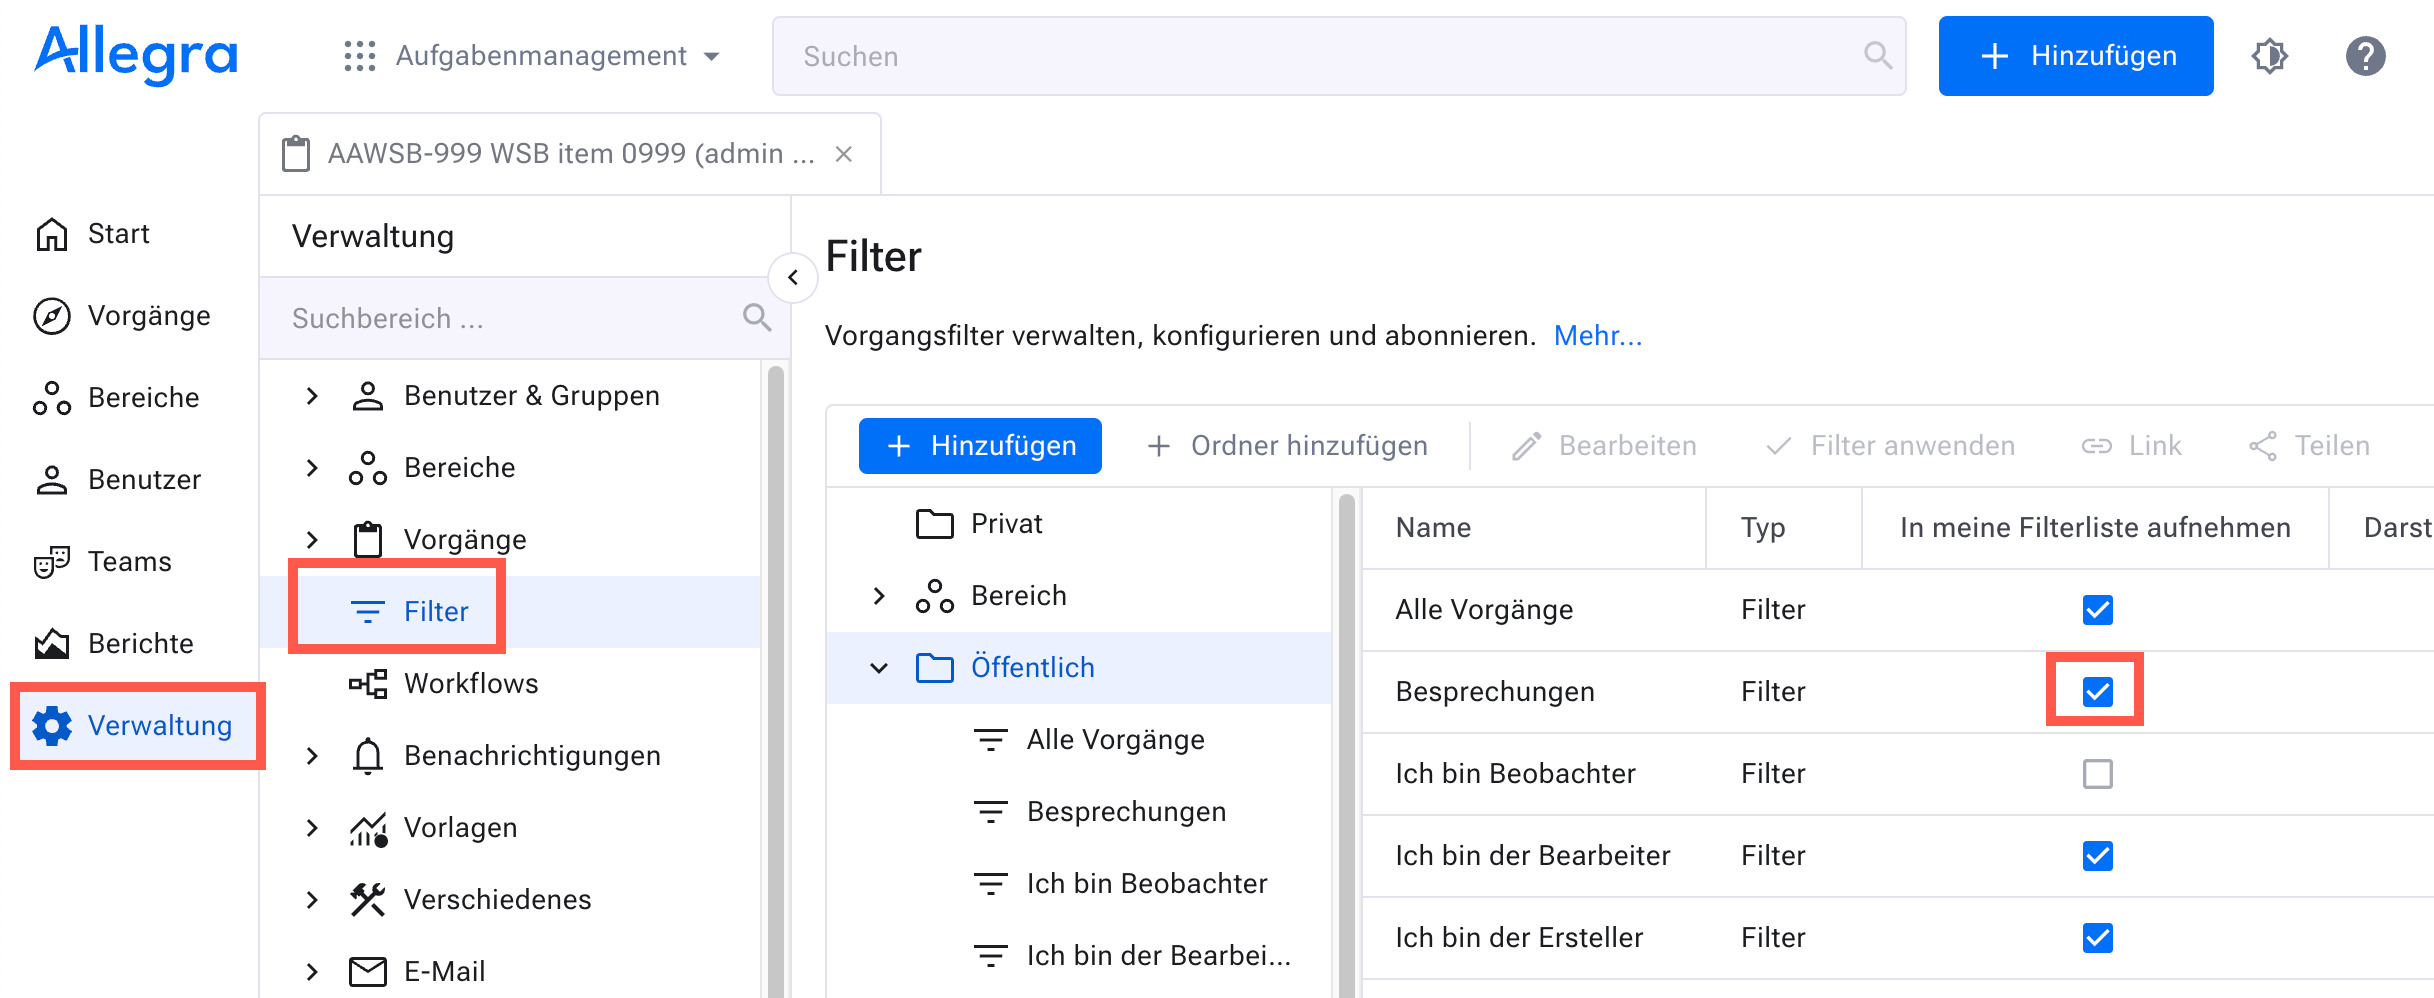
Configuring filters in the filter administration#
In this example scenario, you are to add a new filter that is accessible to everyone. To do this, click the “Public” folder.
In the window that appears, you define your filter.

The attributes are logically ANDed together (B with E), while the attribute values (values in E) are logically ORed together. The additional criteria block is logically ANDed with the block of standard criteria.
Note
Selecting all attribute values of an attribute is equivalent to selecting no values. However, selecting no values has the advantage that you do not have to change the filter when you expand the list of possible values.
Select the “add to my filter list” check box (A) if you want to add this filter to your item browser.
You can associate a view with this filter (see Item browser views). This gives you the column layout, grouping, sorting, etc. when you apply the filter.
In the lower part of this configurator, you can define more complex criteria. Which attributes appear here is determined by a property of the attribute.
Save the filter.